This page is part of the documentation for release V1.0. This documentation is outdated and V1.0 is no longer maintained. See index for the latest information.
Admin Dashboard
The OSC website implements a minimal content management system for managing site users, blog posts, and images. This section of the documentation is intended as a users guide. For developer documentation see the developer guide.
Getting Started
Since the dashboard is not intended for public use, users are not permitted to create their own accounts. Accounts are manually configured by admins.
To get started with using the dashboard, navigate to the dashboard URL (may vary across implementations) using your browser. Enter your pre-shared username and password to log-in.
If authentication succeeds, you should be promptly redirected to the below page:
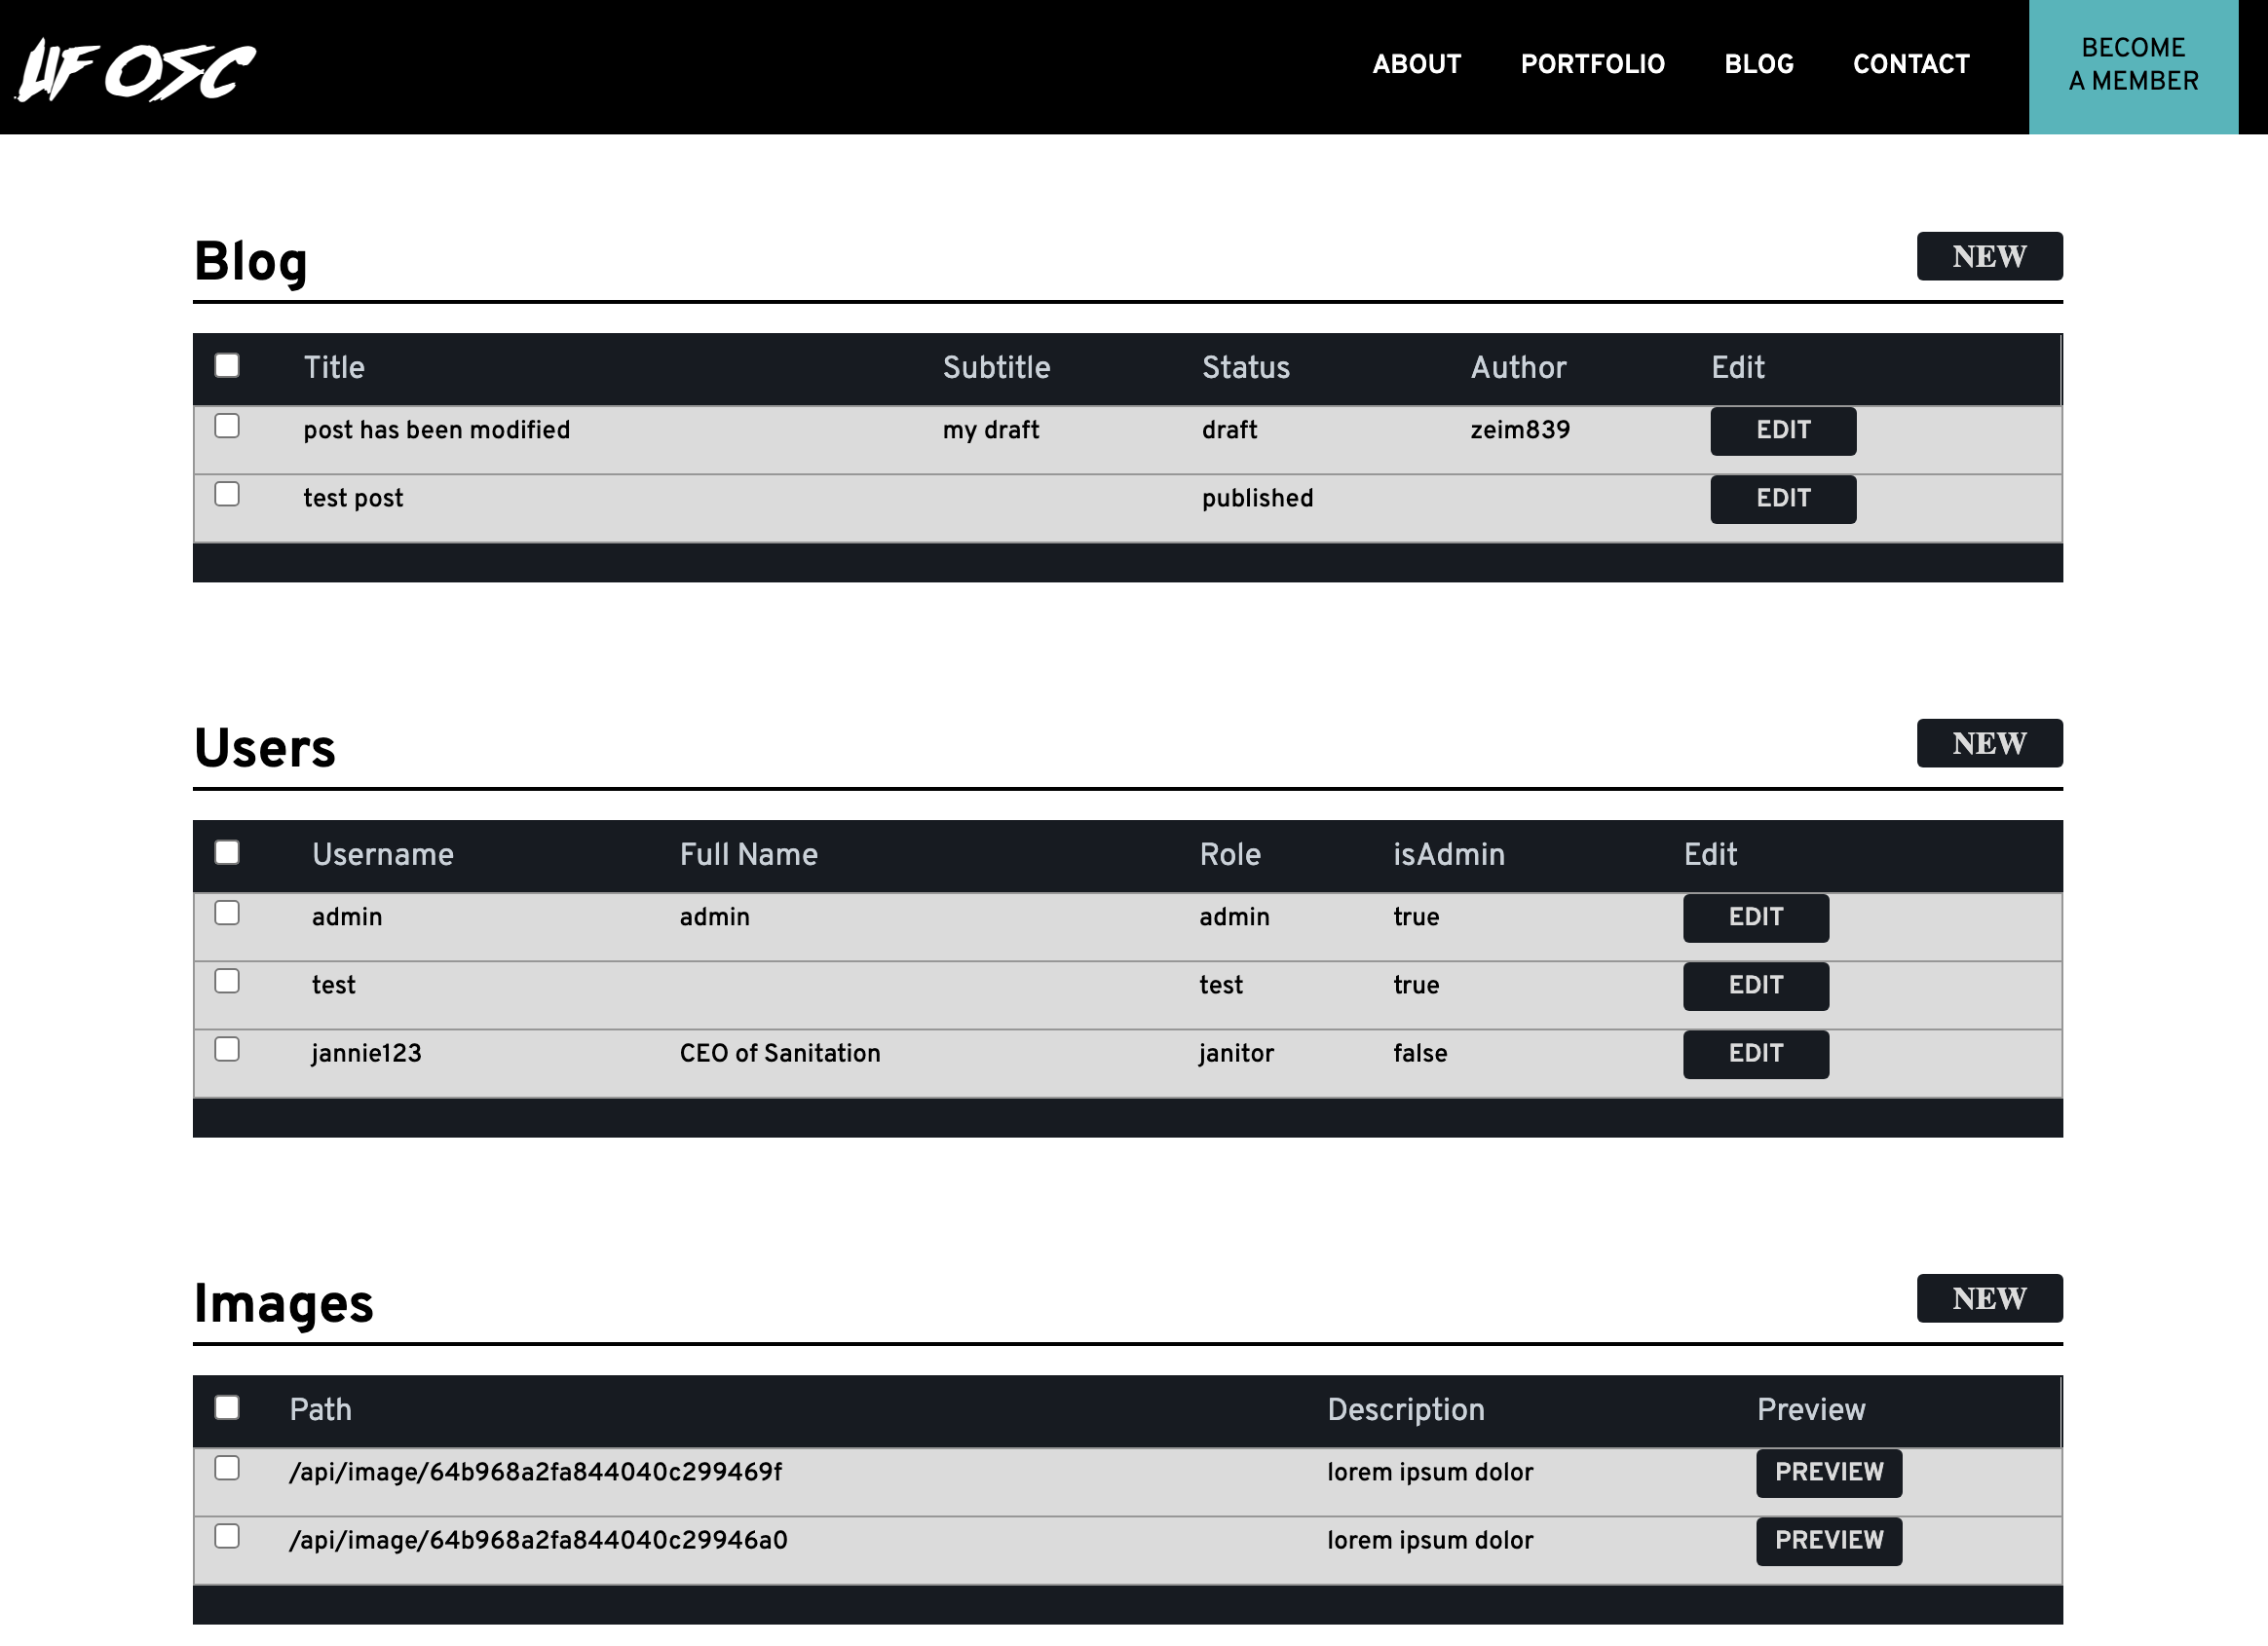
Uploading Images
The image upload table exists to serve image content for the blog, as opposed to having to rely on external image sharing services. To upload an image, select the 'new' button directly to the right of the 'images' heading (screenshot). You should be redirected to a new tab in your browser, illustrated below:
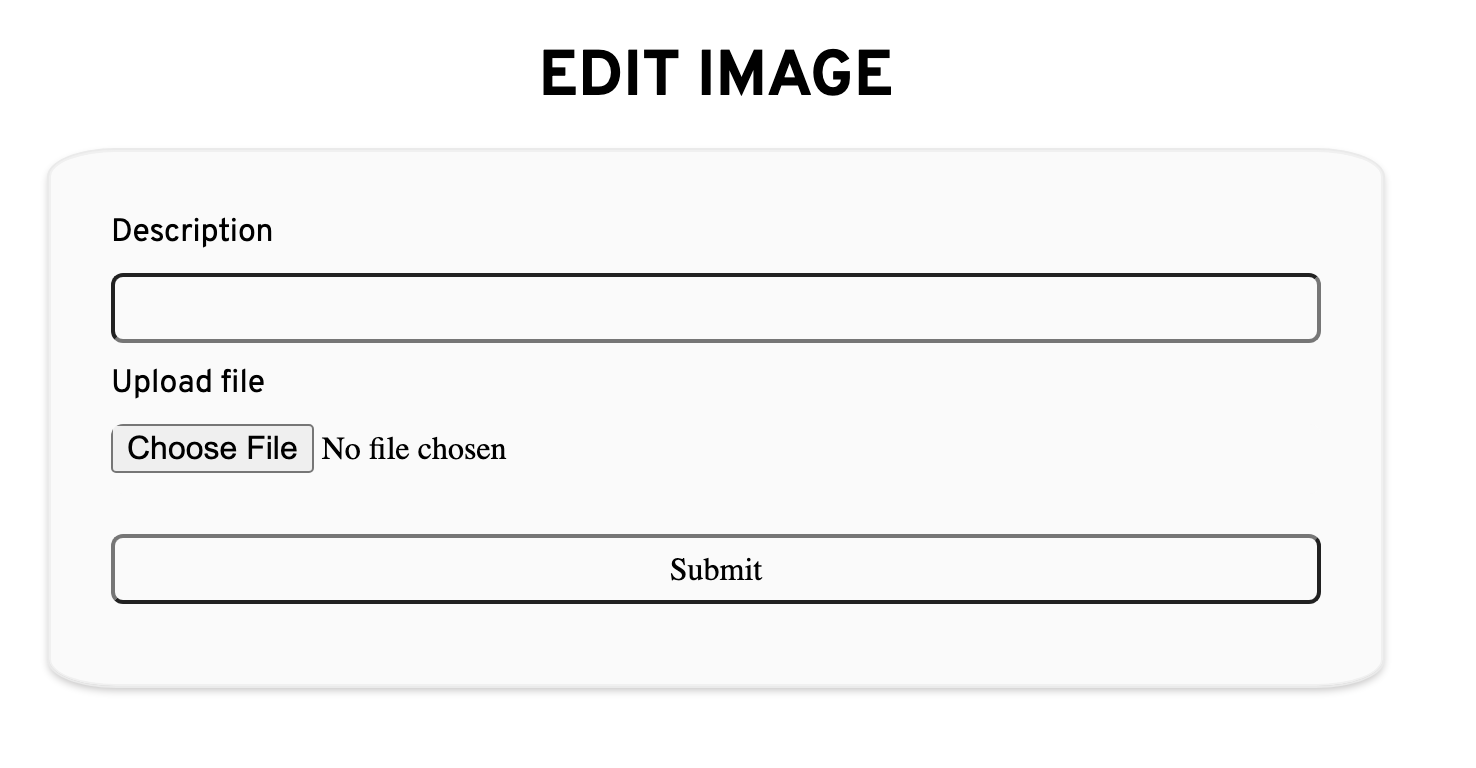
Enter a description for your image and select the file to upload. Once you're ready, click on 'submit' to upload the picture. If the operation succeeds, the page should reload. Once reloaded, you may safely close the tab.
Image size may not exceed 26MB. Currently supported image files are: .png, .jpeg.
Modifying the Blog
Due to caching, newly published posts may take some time to appear on the home and blog pages. However, changes on the individual article pages take immediate effect.
The blog table enables authenticated users to create, modify, and delete blog posts. Blog that are marked as 'published' will subsequently appear in the home and blog pages. To create a new blog post, click on the 'new' button directly to the right of the 'blog' table heading. If you wish to edit an existing blog post, click the 'edit' button corresponding to your desired post.
Regardless of whether you choose to edit or create, you should be redirected to a page similar to the illustration below:
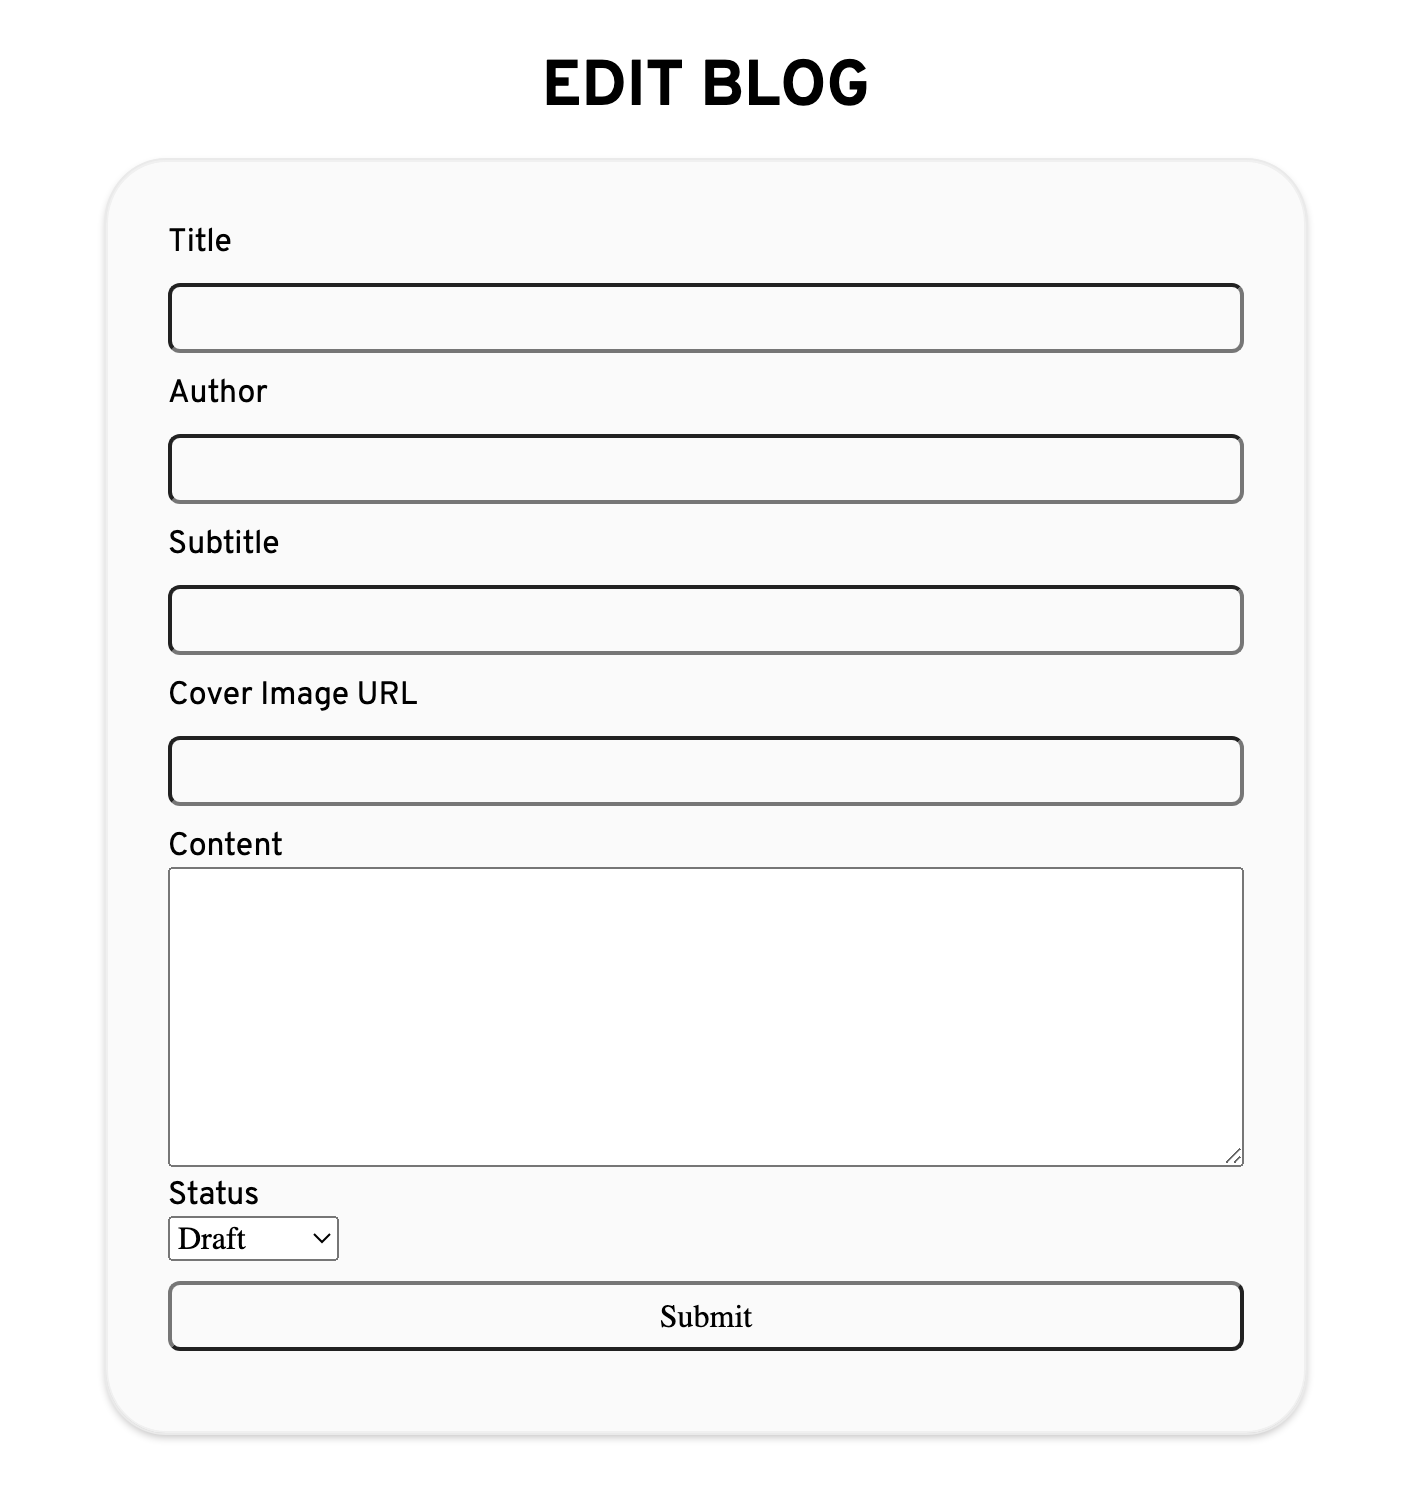
The form fields are described below:
| Field | Description |
|---|---|
| Title | The title of the blog post |
| Author | The author of the blog post |
| Subtitle | The subtitle of the blog post, which will appear directly below the title. |
| Cover Image URL | The cover image is the article's thumbnail. If left blank, a default image will automatically be used. |
| Content | The content body of the blog post. Supports HTML. |
| Status | Selecting 'published' will publish the post immediately. Selecting 'draft' will save it for later. |
You may use your uploaded images in the cover image URL. Navigate back to the admin page, copy your desired image's 'path' from the image table, and paste it back into the Cover Image URL field. Ensure there are no tabs or spaces before the start of your input.
Embedding Images & HTML
Articles will automatically render your 'content' field input as HTML. You may thus embed any HTML element (or stylesheet, javascript) by pasting it into your desired position within the 'content' entry field. The example below illustrates embedding an image:
<img src="/api/image/64b968a2fa844040c299469f" />
Images are automatically recognized and formatted within your article, so additional CSS styling is generally not needed. Like the cover image field, you may use the image paths that appear in the images table to display your uploaded pictures.
Modifying Users
The users table enables existing admins to create, modify, and delete dashboard users. To create a new user, click on the 'new' button directly to the right of the 'Users' table heading. If you wish to edit an existing user, click the 'edit' button corresponding to your desired user.
Regardless of whether you choose to edit or create, you should be redirected to a page similar to the illustration below:
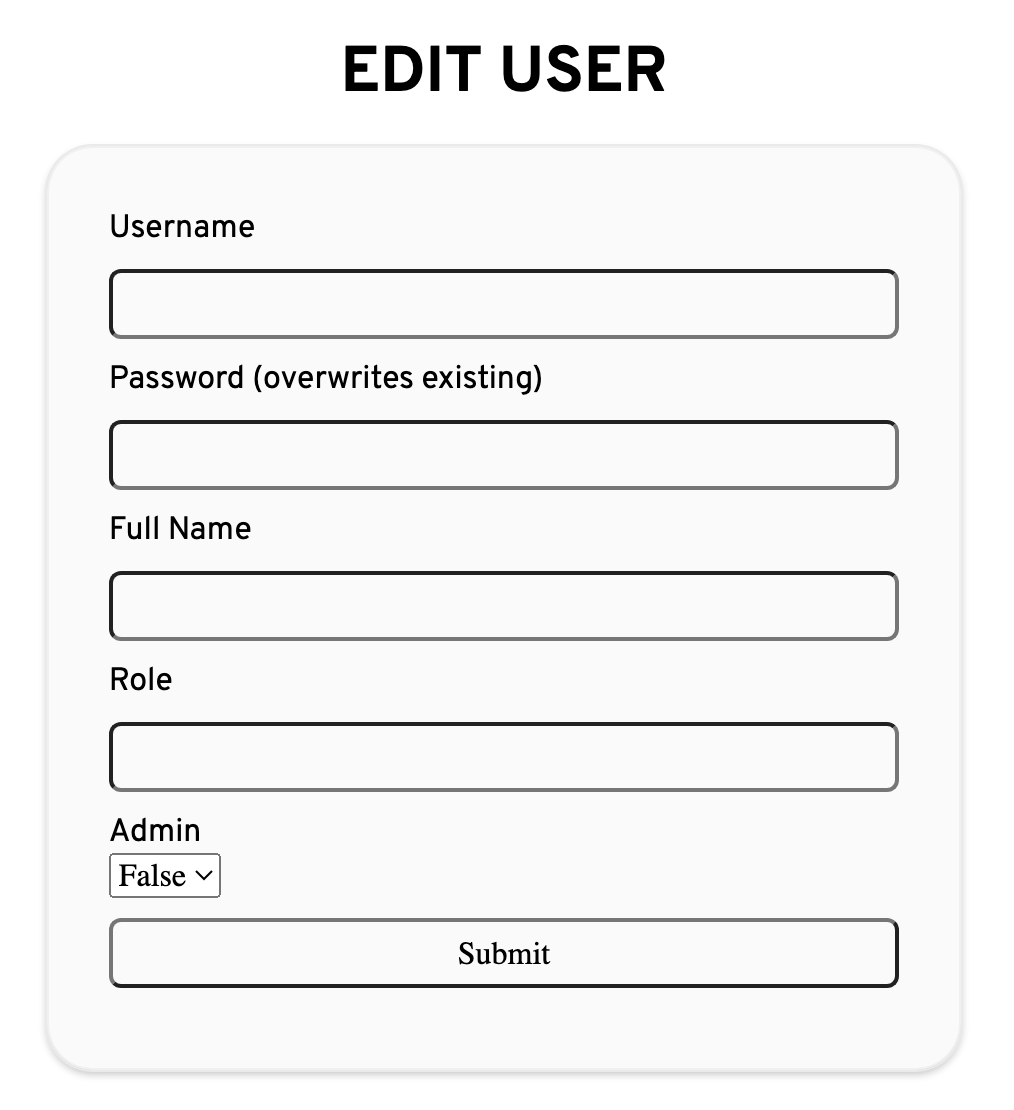
The form fields are described below:
| Field | Description |
|---|---|
| Username | Username, must be unique. |
| Password | User's password. |
| Full Name | User's full name. |
| Role | The user's role. This is purely informational and does not affect the user's permissions. |
| Admin | Whether the user is an admin. |
Deleting Table Items
To select multiple items (on any dashboard table), use the selection checkbox that appears on the left-most column on each table. As soon as any option is selected, a 'delete' button will appear, allowing you to delete the selections.